
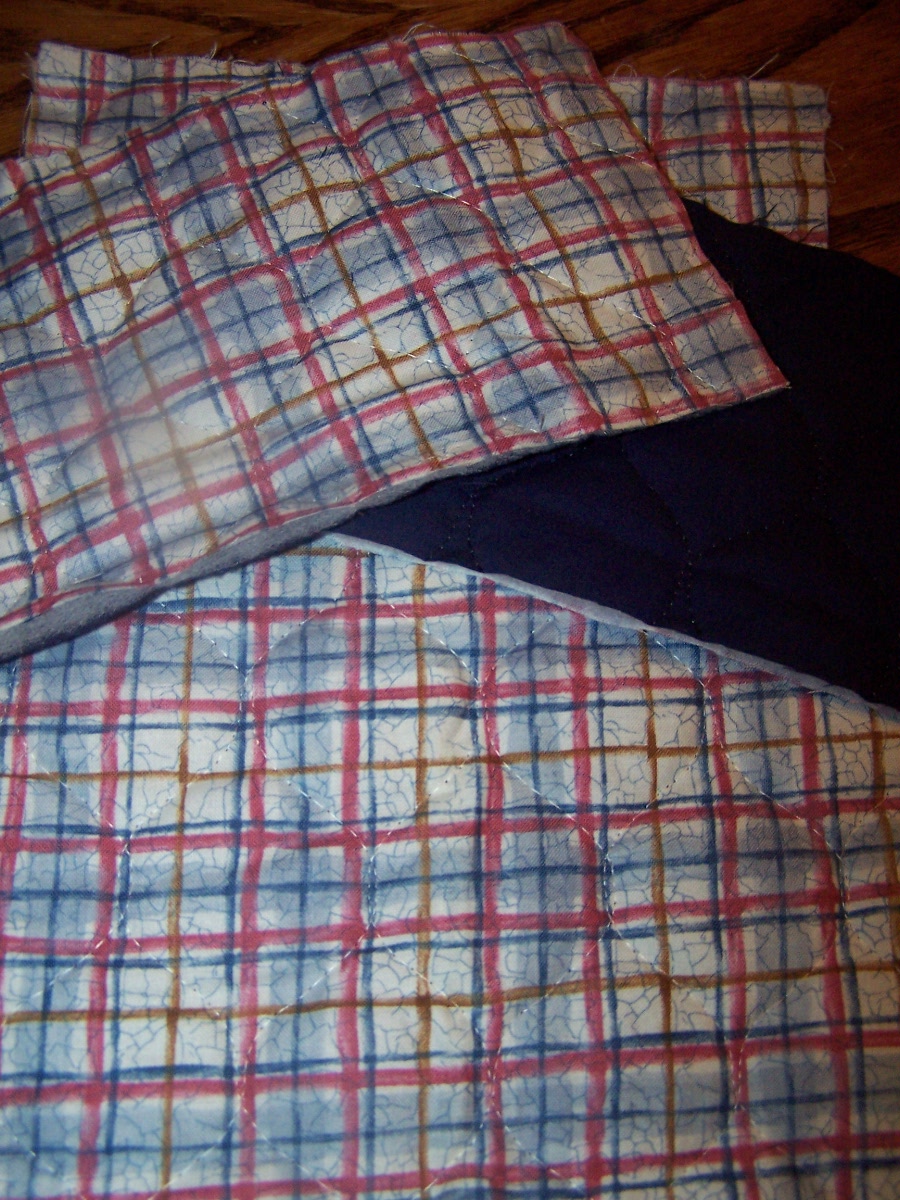
I laid the fabric out, and cut around my plastic checkbook cover about a half an inch larger all the way around.
Then lay two smaller pieces on top of the bottom layer and the plastic checkbook cover. You want to place these about 1/2 inch away from the center fold of the plastic cover. Trim the outer edges to the same size as the bottom layer.
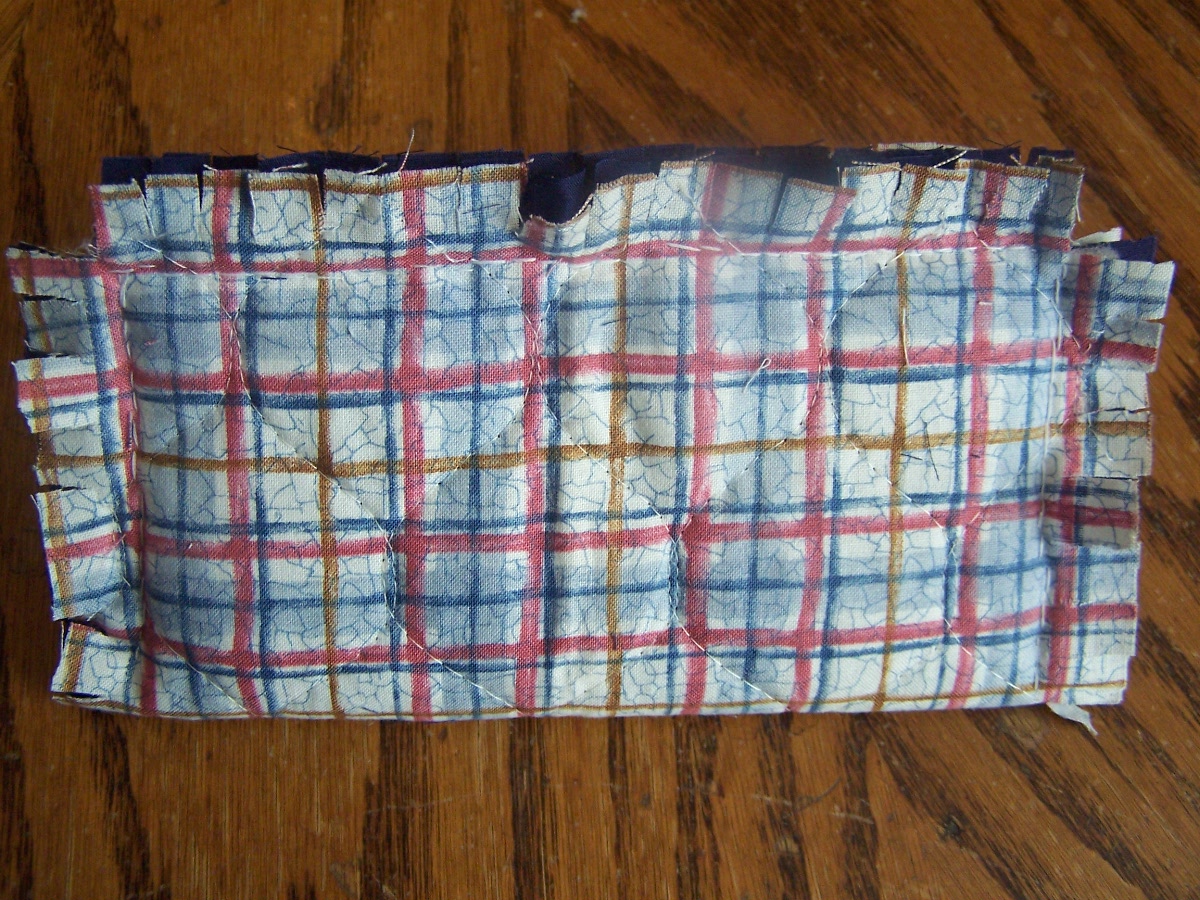
Then you sew all the way around the outside about 1/2 inch in from the edge. I did this by hand. You can do it on the machine if you want. It’s such a small area, it didn’t seem worth digging my sewing machine out.
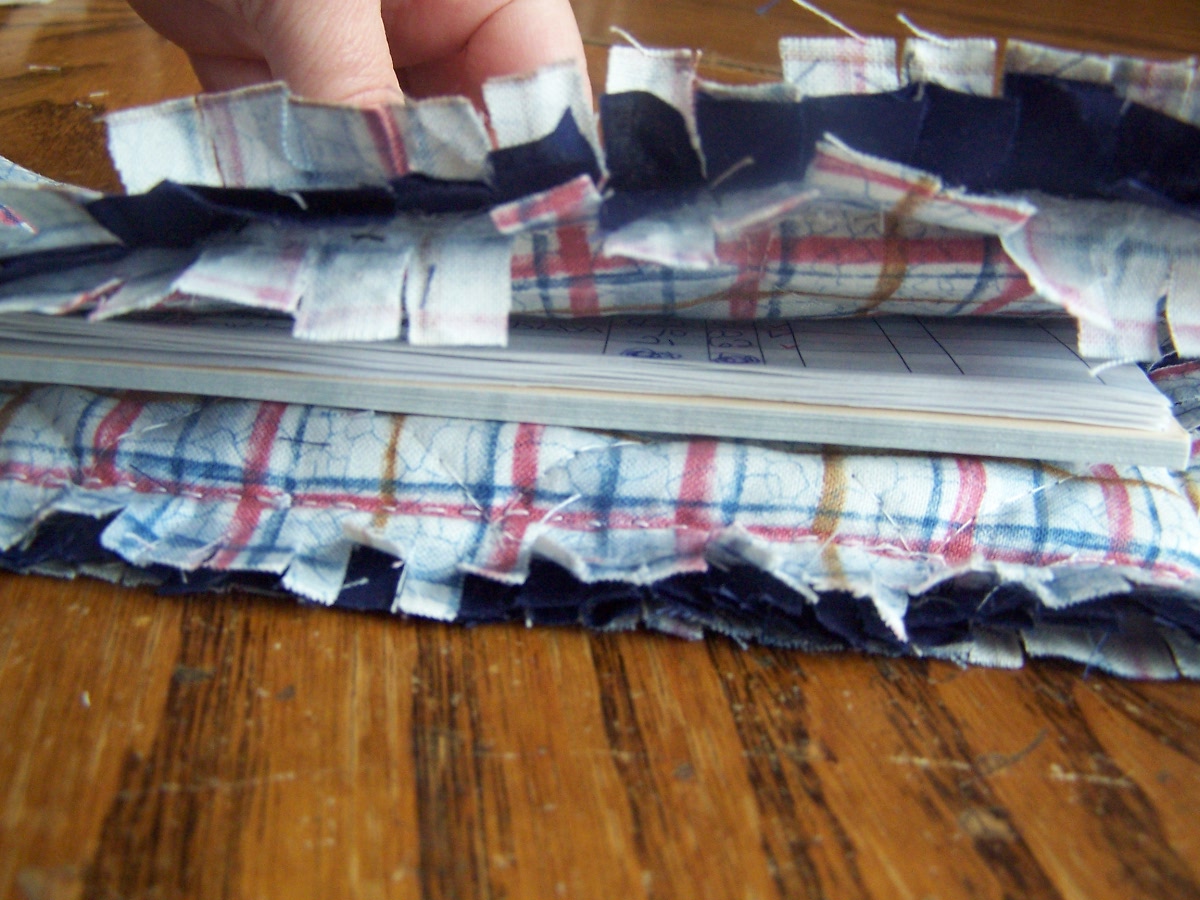
One you have sewn all around the outside, go around cutting slits about 1/4 of an inch apart, up to the seam. Be careful not to cut through the seam. Because my fabric was quilted, I cut away the batting from the outside of the seam. You can see the batting on the left, and on the right, you can see the batting is gone, and I have cut the slits.

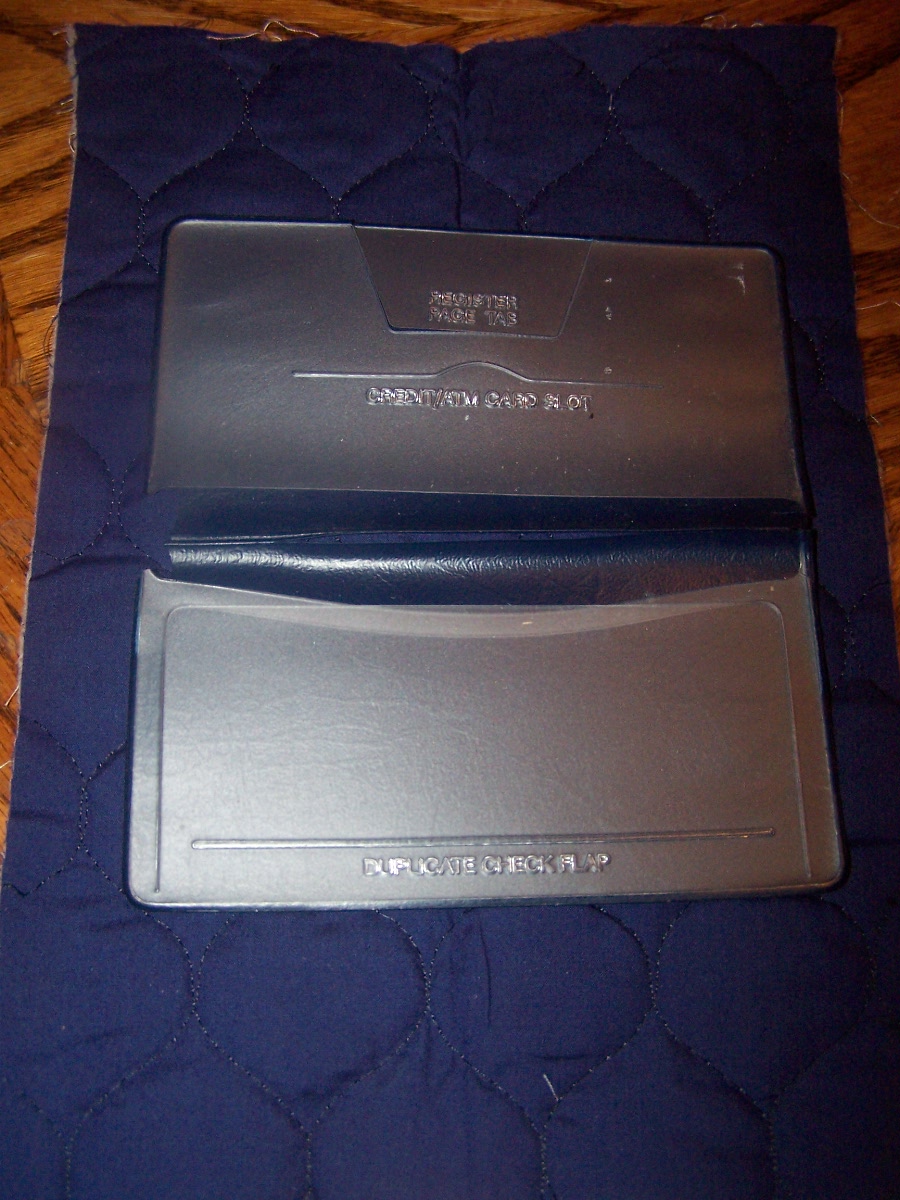
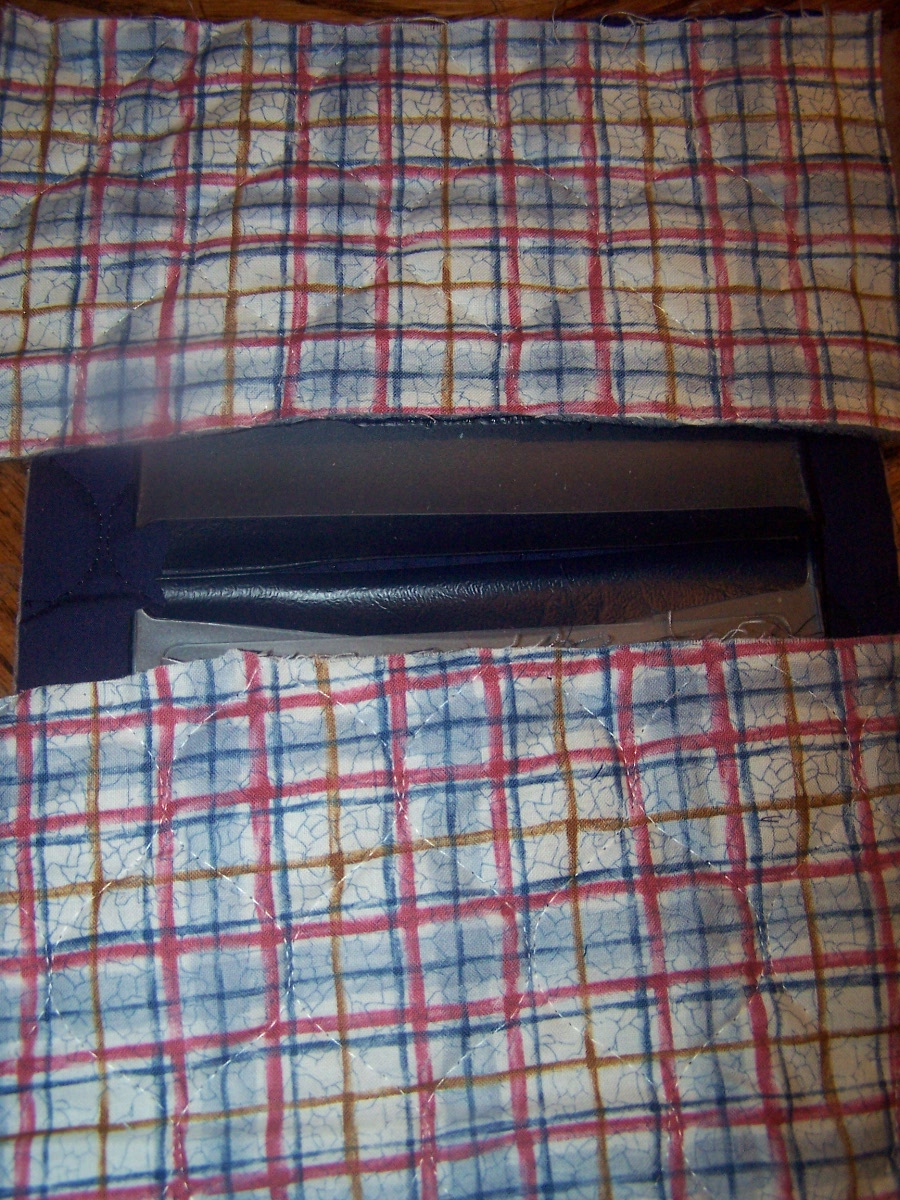
Then insert the plastic cover with the checks and the register. And your done! Yes, I know my checks are in upside down. lol That’s just for the picture. 🙂

Once this has been used a little while, the edges will get more of a rag look to them.
The finished check book cover.
This was a very quick and easy project. Now I’m not embarrassed to take my checkbook out in public. No one can see the old, old plastic cover hiding inside this “custom” checkbook cover. I actually made a purse out of this fabric, so when I use that purse, I’ll have a matching set. snazzy…..

“That’s a nice way of saying falling apart”
I do not agree
https://gracegrogan.wordpress.com/2015/02/13/checkbook-challenged/