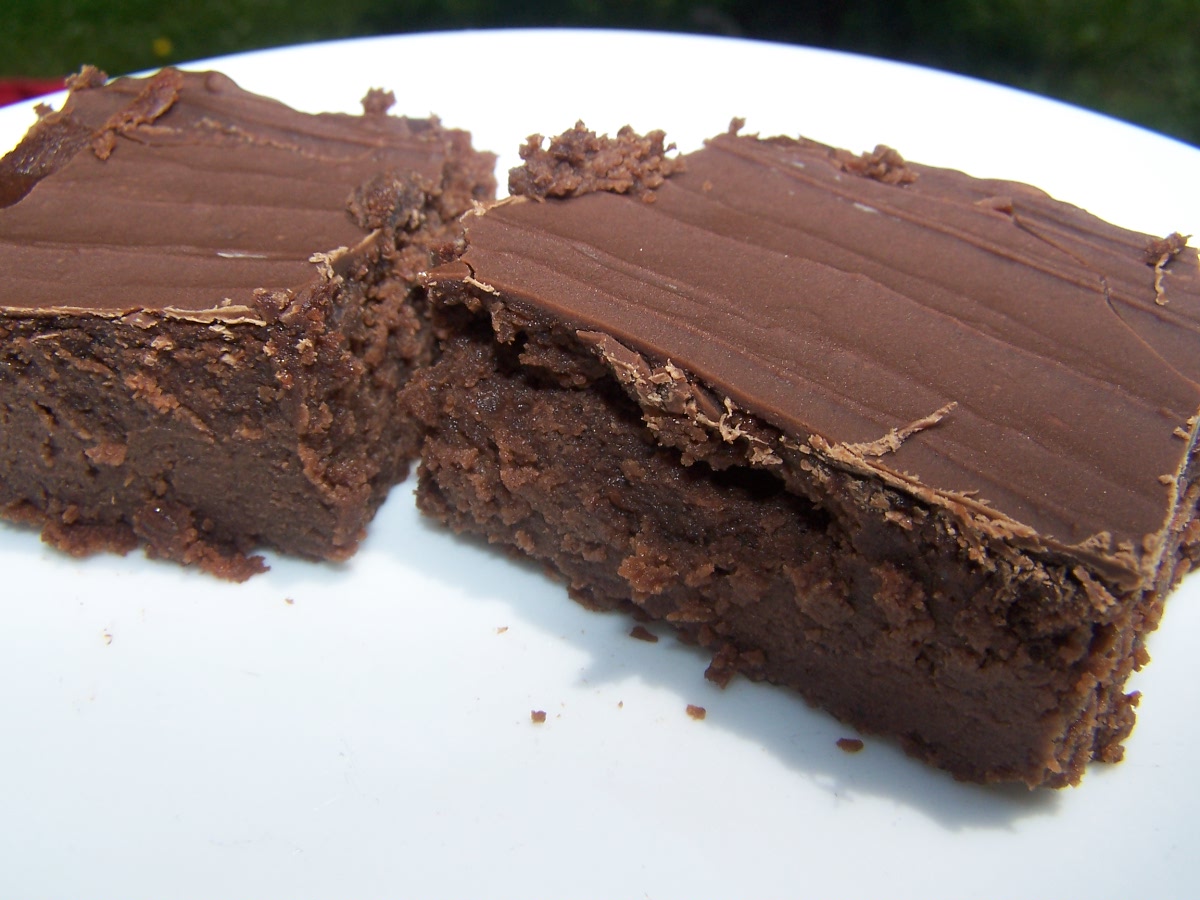
I was excited to try this recipe for gluten free banana bread. Since going gluten free, I’ve tried lots of recipes, and this one is definitely a keeper. Moist, delicious, crispy crust. Awesome warm from the oven, and toasted with butter for breakfast.
I found this recipe for Gluten Free Banana Bread at Budget Savvy Diva but I see she found it at All Recipes. You can go to those links to see the original recipe. I added cinnamon and nutmeg to the recipe, as I like these in banana bread. I’ve also changed the cooking time. It took about an hour to bake, and comments on All Recipes say others have had to bake it for an hour, too. So I changed the time in the recipe.
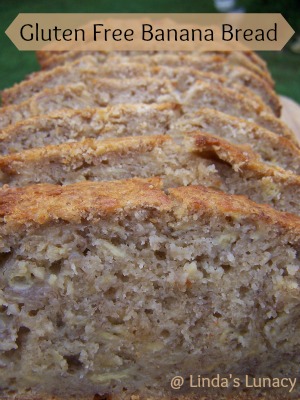
Gluten Free Banana Bread
2 cups gluten free all purpose baking flour
1 teaspoon baking powder
1/2 teaspoon salt
1/2 teaspoon cinnamon
1/4 teaspoon nutmeg
1/2 cup butter
1/2 cup brown sugar
2 eggs, lightly beaten
3 tablespoons maple syrup
6 ripe bananas, mashed
Preheat an oven to 350 degrees F . Lightly grease a loaf pan
.
In a large bowl, combine flour, baking powder, salt, cinnamon, & nutmeg. In a separate bowl, cream together butter and sugar. Stir in eggs, maple syrup and mashed bananas until well blended. Add the banana mixture to the flour mixture; mix until batter is just moist. Pour batter into prepared loaf pan.
Bake in preheated oven for 50 to 60 minutes, until a toothpick inserted into center of the loaf comes out clean.
I ate some, set aside a couple of slices to eat and put the rest in the freezer. I froze these with 2 layers of waxed paper between each slice. That way, I can pull out one slice at a time. This was so good, I’m sure I would have eaten it all very quickly if I didn’t put it in the freezer!

* This post contains affiliate links. If you click the link and purchase something, I will receive a small commission.