It’s been a while since I had done any craft projects. I have been itching to do something lately, though. So when I saw this, I just knew I had to try it.
I followed the directions for a Fishnet Wrapped Mason Jar from It All Started with Paint. It was pretty easy to start.
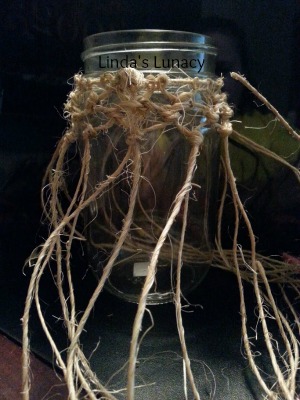
It actually went pretty quick! It’s a little messy with all the little “hairs” coming off the twine.
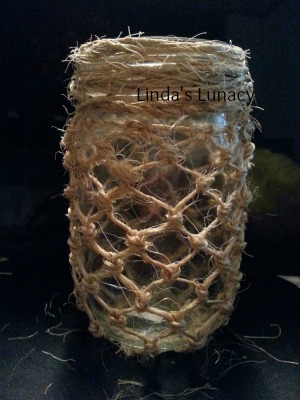
And I love how it turned out! I filled it with shells and put it in my beach themed bathroom.
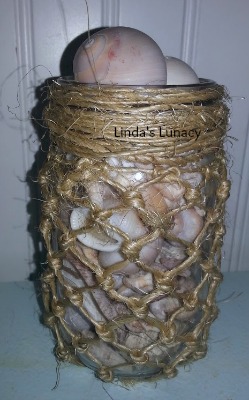
I love it! I think I’m going to make a couple more, too!